
How to Polish Rocks by Hand [Without a Tumbler]
Use wet sandpaper, a damp cloth and careful checks between grits. Follow a step-by-step Petoskey stone example, and learn which rocks to leave alone.
Field guide focus
Use this guide as a working reference, not a passive read. Start with the section that matches the question you have in the field.
Table of Contents
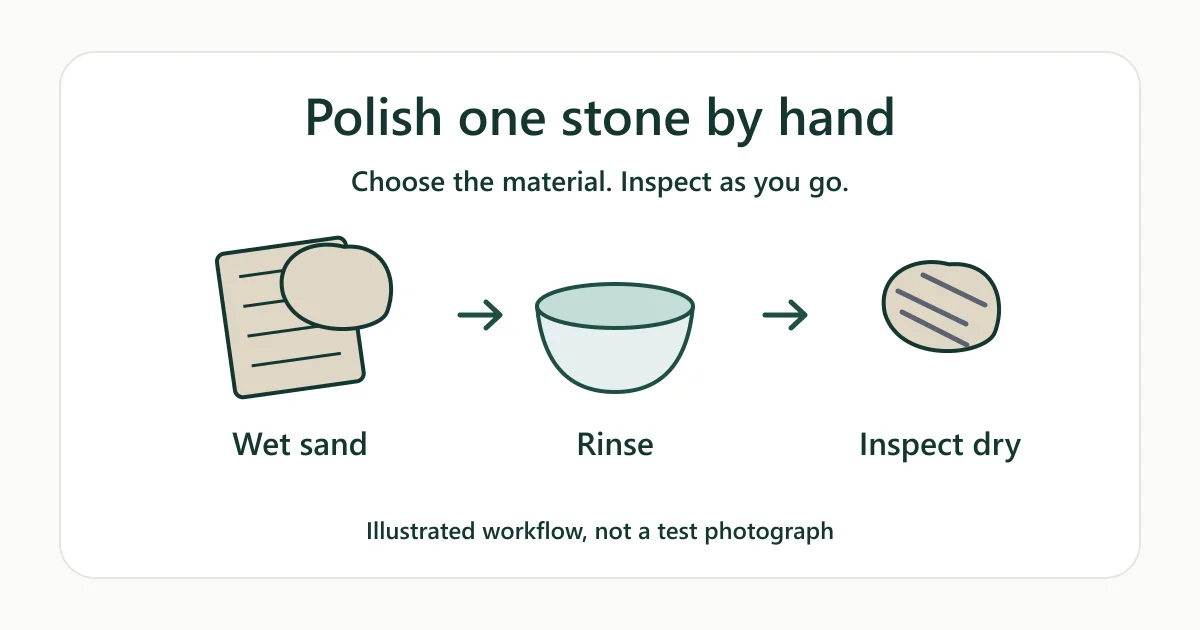
To polish a rock by hand, rub the wet stone on wet sandpaper, moving from coarse grit to fine grit. Rinse and dry it after each grit and look for scratches. Then rub it on a damp cloth with a little polishing powder. The worked example here is for Petoskey stone, a softer fossil coral from Michigan. Hard stones like agate need a different plan.
The step-by-step example below follows two Michigan sources written for Petoskey stones: a Geological Survey booklet hosted by the State of Michigan and a method shared by the Central Michigan Lapidary & Mineral Society, a rock club. This is a source-based guide, not a report of our own tests. Two words come up a lot. An abrasiveis a hard, gritty material that wears away the stone's surface. Grit is its size number: a low number is coarse, and a higher number is finer.
Which Rocks Can You Polish by Hand?
Start with a stone you own, can identify and do not mind changing. Polishing grinds away the outer skin of the rock. You cannot put it back.
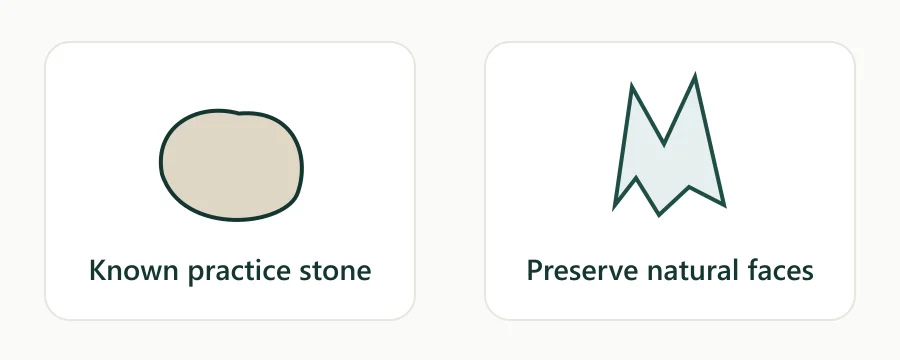
Even a good candidate can disappoint. The Michigan booklet notes that not every Petoskey stone is worth polishing: some are too porous, meaning full of tiny holes, and some contain other materials that do not polish evenly.
Good first stones:
- A Petoskey stone. It is a soft stone; our Petoskey stone page lists it at about 3–4 on the Mohs scale.
- A beach-smoothed Petoskey stone. The club notes that these need less initial shaping. Choose a small piece you can hold comfortably; this guide does not cover filing or reshaping rough rock.
Leave these out of any sanding or polishing:
- Unknown stones. Identify the stone first. Our Mohs hardness guide shows how to compare scratch resistance safely.
- Fibrous, silky or flaky stones, or any you suspect hold lead, arsenic or asbestos. Sanding turns the surface into dust and muddy water. Do not make either from a stone that may be harmful.
- Crumbly, cracked or very porous stones. Loose grains can break off and scratch the face you are working on.
- Valuable specimens, crystals with natural faces and fossils whose surface detail matters. Sanding erases those features for good.
Supplies for Hand Polishing
You need very little, and each item has a job. Keep the paper and stone damp. Water holds dust down and carries away the bits of stone and grit.
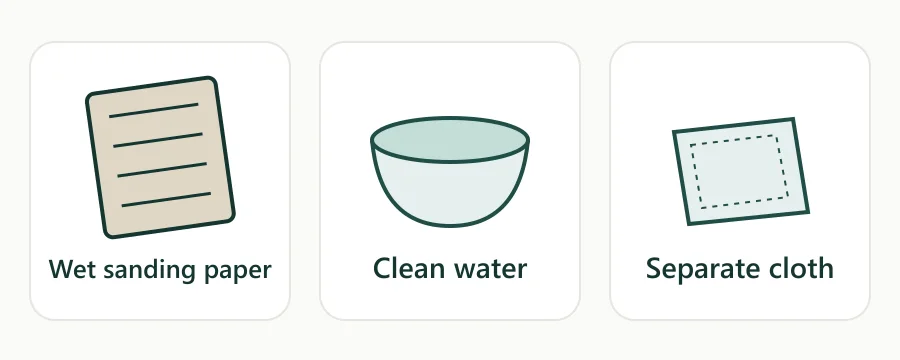
This list follows the Michigan booklet and the club method for Petoskey stones:
- Silicon carbide wet/dry sandpaper in 220, 400 and 600 grit.Silicon carbide is a very hard, man-made abrasive. “Wet/dry” means the paper is made to be used with water.
- A firm, cushioned pad under the paper and cloth, such as thick newspaper, a folded towel or a sheet of rubber.
- A bowl or tray of water, plus clean water to swap in later.
- A soft cloth square of corduroy or velvet for the final polish.
- A polishing compound.This is a very fine powder that brings up the shine after sanding. The club names tin oxide, cerium oxide or another specialized polish. Choose a lapidary compound (one sold for stone work) labeled for your kind of stone, and follow the maker's directions and safety notes.
- Paper towels, good light and a magnifier for the checks between grits.
Diamond-coated hand pads are another hand option. Norton, for example, lists its diamond-coated hand pads for wet or dry hand use. Check that the pad you choose is labeled for stone. We have not tested these pads, and the Petoskey steps below use sandpaper.
How to Polish a Rock by Hand: A Petoskey Stone Example
These steps are for a Petoskey stone. They follow the Michigan booklet and the club method. Do not copy the grits onto agate or other hard stones; see choosing a method for those.
Petoskey step 1: Set up a wet work area
Lay the cushioned pad on a table and put a sheet of sandpaper on top. The club suggests a quarter sheet at a time. Fill a bowl with water and dip the stone so it stays damp. Rinse the paper now and then to clear away the fine bits of stone.
Petoskey step 2: Sand with 220 grit
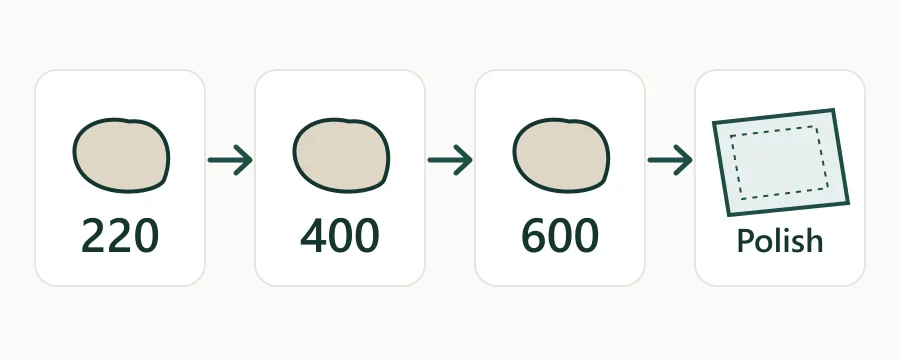
Hold the damp stone firmly. Rub the part you want to polish on the 220 grit paper with a steady, circular motion. Then rinse the stone, dry it and look for scratches and rough spots. Keep sanding until they are gone. The club calls this first sanding very important, so take your time here.
Petoskey step 3: Sand with 400 grit
Wash your hands and the stone so no 220 grit comes along. Repeat the same motion on 400 grit paper. This step removes the coarser 220 scratches and any white spots. Rinse, dry and check again. Before the next grit, pour out the dirty water and use fresh water.
Petoskey step 4: Sand with 600 grit
Clean up again, then sand on 600 grit paper. Rinse, dry and look very closely. If you still see scratches, go back to a coarser paper and work up again. The club is clear on this: all scratches must be gone before you polish.
Petoskey step 5: Polish on a damp cloth
Lightly dampen the corduroy or velvet square. Sprinkle on a very small amount of polishing powder. Rub the stone with short, circular strokes. The club notes that rubbing for a long time does little to improve the shine. If scratches show up now, go back to 400 grit and work through the grits again. When you are done, wipe the stone clean and wash your hands.
Skip car polish, oil, wax and varnish. A coating sits on top of the stone. It is not the same as polishing the stone itself.
How to Check for Scratches Between Grits
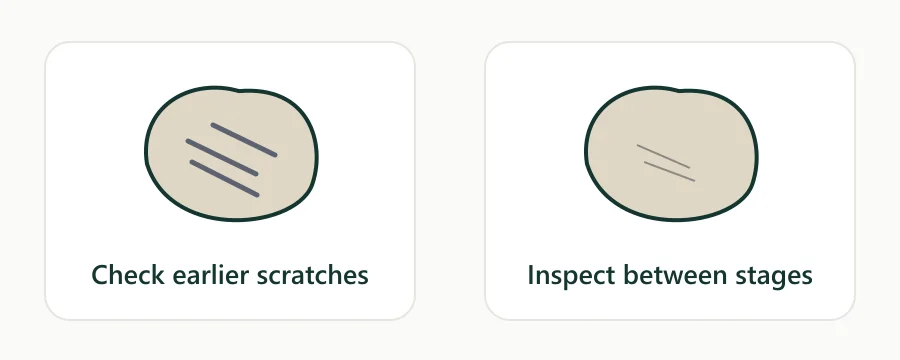
Water can fool you. A wet stone looks shinier, and its pattern stands out more, than it will once it dries. So always judge a stone rinsed and dry, never wet.
- Rinse the stone in clean water so no grit or dust is left on it.
- Dry it with a clean paper towel or cloth.
- Hold it under a bright light and tilt it slowly. Scratches catch the light as fine lines.
- Look closer with a magnifier. Our hand lens walkthrough shows how to focus on a small surface.
Use the table below as a bench card for the Petoskey example. You can print this page from your browser.
| Stage | What it does | Check on a rinsed, dry stone | If it fails |
|---|---|---|---|
| 220 grit | Does the heavy work on the chosen face | No rough spots or old marks left | Keep sanding on 220 |
| 400 grit | Removes 220 scratches and white spots | Only fine, even scratches left | Keep sanding on 400 |
| 600 grit | Leaves the smoothest sanded surface | An even surface with earlier coarse scratches removed | Go back to a coarser paper |
| Cloth polish | Brings up the shine | Shine stays after the stone is dry | Visible scratches: return to 400. Smooth but dull: check the polish label and stone. |
Why Is My Hand-Polished Rock Still Dull?
These checks apply to the Petoskey example above. Find the closest match below, then inspect the stone. They are starting checks, not a certain diagnosis.
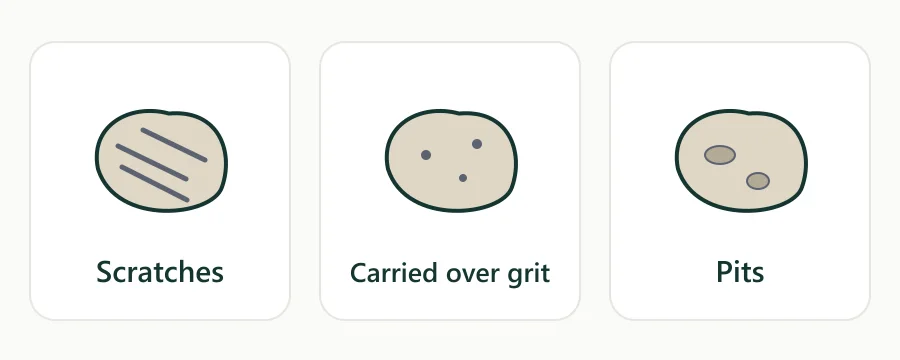
- Scratches show after polishing. Earlier scratches were not fully removed, or grit was carried into a later stage. The club method says to go back to 400 grit and work through the grits again. Clean everything first.
- Shiny when wet, dull when dry. The sanding is not necessarily finished. Check the dry surface for scratches. If it is smooth but dull, check that your polish suits the stone and follow its label before sanding away more material.
- White spots remain. The Petoskey method calls for a check at 400 grit. Recheck that stage, but do not keep grinding away a natural patch or pit in pursuit of an even color.
- Long polishing is not helping. The club notes that long rubbing does little. Go back and check the 600 grit surface instead.
- Pits or holes will not go away. The stone may be porous. The Michigan booklet warns that some stones are too porous to polish well. Accept the texture or choose another stone.
- Grains keep breaking off. The stone is crumbly. Stop sanding it; the loose grains will keep scratching the surface.
Hand Polishing vs. a Rock Tumbler or Lap Machine
Hand polishing suits one stone, one face you choose and very little gear. Other jobs need other tools.
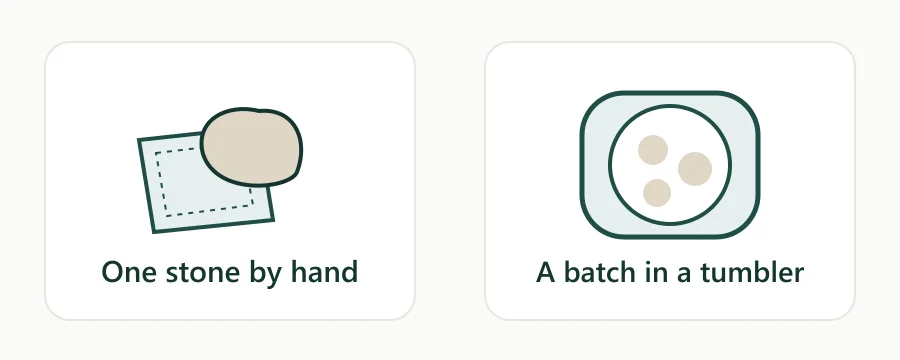
- By hand. Good for a single soft stone, such as a Petoskey, or a piece too big for your tumbler barrel. You control where the stone changes.
- Rotary tumbler. A machine that rolls a batch of stones with grit and water for several weeks. It rounds the whole stone. Our rock tumbling guide for beginners covers its stages. The grit amounts in our rock tumbling grit guide are for barrels, not for hand work.
- Lap or cabbing machine.A powered machine with flat or wheel-shaped abrasives for flat faces or domed stones. Follow its maker's manual. This guide does not cover powered tools.
What about agate, jasper and other hard stones? Agate is a banded kind of quartz. Quartz rates 7 on the Mohs scale, much harder than a Petoskey stone. The 220, 400 and 600 grit steps above were written for Petoskey stones. We did not find a verified hand schedule that works for every hard stone, so we do not invent one. That does not mean hard stones cannot be hand polished. Choose abrasives and a polish whose maker labels them for your stone, and follow their instructions. A tumbler or lap machine is another route; compare rock tumblers for beginners if you want to polish many stones at once. A local lapidary club can also show you its own method.
Frequently Asked Questions About Polishing Rocks by Hand
Short answers based on the sources above. For anything not covered, follow the instructions on your abrasive or polish.

Can you polish any rock by hand?
No. Start with a stone you own, can identify and do not mind changing. Skip unknown, fibrous, crumbly or very porous stones, crystals with natural faces and valuable specimens. Michigan's Petoskey booklet notes that even some Petoskey stones are too porous or hold too many impurities to polish well.
Can sandpaper alone make a rock shiny?
Fine sandpaper makes a stone smooth, but the Petoskey method in this guide ends with a separate polish step: a small amount of polishing powder on a damp cloth. A stone that only looks shiny while it is wet is not finished yet.
What polish should I use on a Petoskey stone?
The method shared by the Central Michigan Lapidary & Mineral Society names tin oxide, cerium oxide or another specialized polishing compound, rubbed on damp corduroy or velvet. Choose a lapidary polish labeled for your stone and follow its instructions. This guide does not use car polish, oil, wax or varnish.
How long does it take to polish a rock by hand?
Time depends on the stone, its starting shape and how deep its scratches are. Move on when a rinsed, dry stone passes the check for that grit. We do not promise a finish within a set time. The club notes that beach-smoothed Petoskey stones need less initial shaping.
Can I use these steps on agate or quartz?
Not as a recipe. The 220, 400 and 600 grit steps here are for Petoskey stones, which are much softer than agate. We did not find a verified hand schedule that works for every hard stone. Use abrasives the maker labels for your stone, or a tumbler or lap machine, and follow the maker's instructions.
Is hand polishing the same as rock tumbling?
No. By hand you work one stone at a time, on the face you choose. A rotary tumbler rolls a batch of stones with grit over several weeks and rounds them. Tumbler grit amounts and stage times do not carry over to hand work.
Your next step
Use the rules, then pick a site you can verify.
Recommended next step
Find a legal collecting site
Browse detailed location guides across the US.
Sources & References
- The Petoskey Stone, pages 3–4: hand polishing (historical Geological Survey Division booklet, checked October 21, 2026) — State of Michigan (EGLE)
- Petoskey Polishing: club-shared hand method and polishing powders (checked October 21, 2026) — Central Michigan Lapidary & Mineral Society
- Blue Diamond-Coated Hand Pad (checked October 21, 2026) — Norton Abrasives
- Silica: Safe Work Practices (checked October 21, 2026) — National Institute for Occupational Safety and Health
- Silica construction guide, printed pages 30 and 43: dried slurry and cleanup (checked October 21, 2026) — Occupational Safety and Health Administration
- 3A tumbler instructions: rinse water and household drains (checked October 21, 2026) — Lortone

Founder and editor, The Rockhounding Hub
Marvin runs this site and is still learning rockhounding. He builds each guide from maker specs, safety rules, and public sources.